You’ve done it. The last stitch of your beautiful blanket is complete. You hold it up, admire your work… and then you see them. A herd of yarn tails staring back at you from every color change and join. The dreaded “weaving in” looms. I used to rush this step, just threading the ends through a few stitches and snipping, only to have them poke out later or, worse, unravel after the first wash. Nothing undermines hours of beautiful work like a poorly finished back.
Let’s reframe this. Weaving in ends isn’t a tedious chore; it’s the final act of craftsmanship. It’s what ensures your piece is durable, washable, and looks professional from every angle. A perfectly woven-in end is invisible and secure for the life of the item. In this guide, I’ll share my meticulous, step-by-step process developed over thousands of ends. We’ll cover techniques for different yarn types (slippery acrylic, sticky wool, splitty cotton), best practices for different project types (wearables vs. decor), and my secret weapon for managing ends in large, colorful projects so you’re not faced with a nightmare at the finish line.
The Philosophy: What Makes an End “Well-Woven”?
A secure end meets three criteria:
- Invisibility: It does not show on the right side (public side) of the work.
- Security: It will not come loose with stretching, wearing, or washing. It’s effectively “felted” or locked into the fabric.
- Comfort: It does not create a bump or itchy spot against the skin in wearables.
To achieve this, you need the right tools and a strategy that goes beyond just “going through a few stitches.”
Part 1: Your Finishing Toolkit
You cannot do this well with a crochet hook. You need:
- Blunt-Tip Tapestry Needles: These have a large eye and a blunt tip that slides between yarn plies without splitting stitches. Have a few sizes—a larger one for bulky yarn and a smaller one for fingering weight. My favorite are the bent-tip needles; they make navigating the back of the fabric incredibly easy.
- Small, Sharp Scissors: For a clean cut close to the fabric.
- Patience: Seriously. Rushing leads to popped-out ends. Put on an audiobook or podcast and settle in.
Part 2: The Step-by-Step Method for a Bulletproof Finish
This is my go-to method for 95% of ends. It distributes the tail over a broad area and changes direction multiple times, locking it in place.

- Thread the Needle: Pull about 6-8 inches of your yarn tail through the eye of the tapestry needle. If the yarn is very slippery, you can dampen the very end slightly to make it pointy and easier to thread.
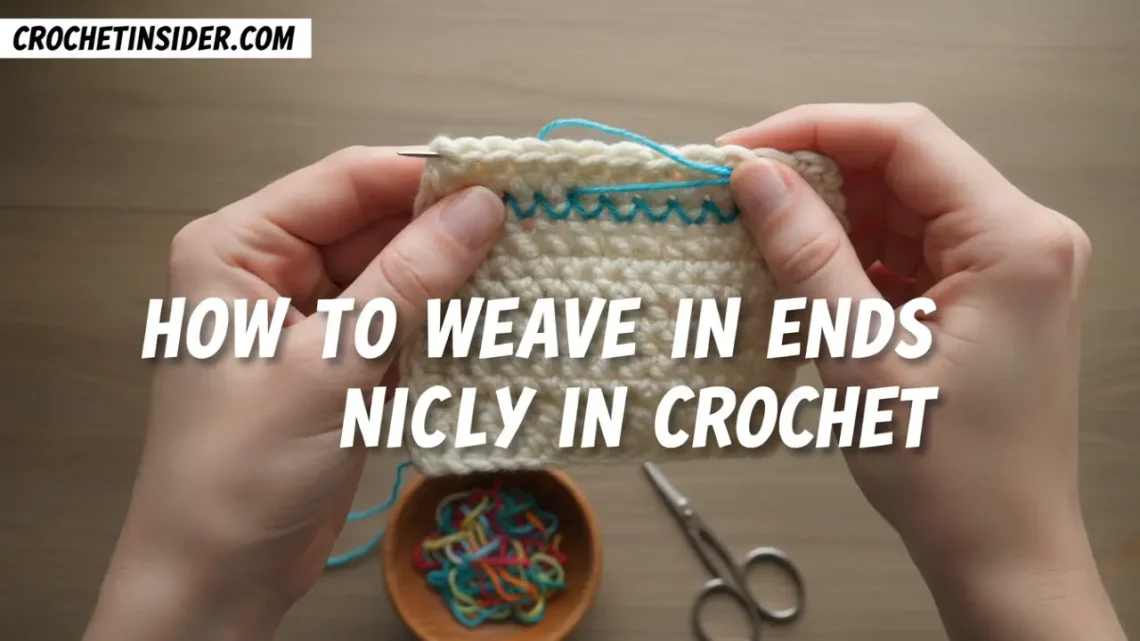
- Identify the “Wrong Side” Path: Turn your work to the wrong side (the back). You will be weaving through the back bumps or the middle of the stitch posts—never through the top loops that are visible from the front. Your goal is to follow the path of an existing strand of yarn.
- Weave Horizontally (First Pass): Insert the needle under several (4-6) of the horizontal “bars” that run along the back of a row. Gently pull the yarn through, leaving a small tail (about 1 inch) at the start. Do not pull so tight that it puckers the fabric.
- Change Direction & Weave Vertically: Now, turn your needle 90 degrees. Weave up or down, running the needle through the center of the stitch posts for about an inch. This change in direction is the first lock.
- Change Direction Again (Second Lock): Turn another 90 degrees and weave horizontally again for a few stitches, in a slightly different path than your first horizontal pass.
- The Final Lock & Trim: Give the yarn a gentle but firm tug in all directions to set it. Then, holding the fabric taut near where the yarn emerges, trim the tail as close to the fabric as you can without cutting the actual stitch. When you release the fabric, the end should retract back into the work, becoming invisible.
How Long to Weave? A good rule is to weave for a minimum of 2-3 inches total path length. For items that will undergo heavy stress (like sock heels, bag handles, or children’s toys), weave even longer and change direction 3-4 times.
Part 3: Specialized Techniques for Different Scenarios
1. For Slippery Yarns (Acrylic, Bamboo, Silky Blends)
These are the most likely to pop out. The standard method works, but add this: Split the Plies.
- Before your final direction change, separate the yarn tail into two or three thinner plies.
- Weave each ply in a slightly different final path before trimming. This creates multiple tiny anchors that are less likely to all pull out at once.
2. For Sticky/Wooly Yarns (Non-Superwash Wool, Mohair)
These are forgiving! The fibers want to cling to each other. You can often get away with a shorter weave. For an ultra-secure finish on a feltable wool, you can do the “spit splice” concept: after weaving, gently rub the area between your palms with a drop of water. The fibers will begin to felt together, permanently locking the tail.
3. For Color Changes in Stripes
This is where strategy pays off. Weave ends along the color boundary.
- Weave the tail of the old color horizontally to the left along its own color row.
- Weave the tail of the new color horizontally to the right along its new color row.
- This distributes any minimal bulk along the seam where it’s least noticeable.
4. For Joins in the Round (Amigurumi, Hats)
You often have two tails right next to each other. Use them to reinforce each other.
- Thread both tails onto the needle.
- Weave them together in one path for about an inch to secure the join.
- Then, separate them and weave each tail off in opposite directions for another inch before trimming.
5. The “Weave as You Go” Method (For Complex Colorwork)
If you’re making a tapestry blanket with hundreds of ends, weaving at the end is soul-crushing. Instead:
- After completing a color section, leave a 6-inch tail.
- When you crochet the next row or round, lay the tail along the top of the previous row’s stitches.
- Crochet over the tail, encasing it within the new stitches you make. Work over it for about 1.5 inches.
- Stop, pull the tail to the back, and now weave in just the remaining short tail. You’ve done 80% of the work already!
Part 4: What NOT To Do – Common Finishing Mistakes
- Don’t Tie Knots. Knots can come undone, create uncomfortable bumps, and are not considered a professional finish in yarn crafts. The woven-in method is stronger.
- Don’t Weave in a Straight Line. A single straight line of weaving can pull out like a drawstring. Always change direction.
- Don’t Weave on the Right Side. No matter how careful you are, it will show.
- Don’t Cut the Tail Too Short Before Weaving. Leave yourself plenty to work with (6-8 inches is ideal). A 3-inch tail is much harder to weave securely.
- Don’t Use a Sewing Needle. The sharp point will split the yarn fibers of your project, weakening both the stitch and your tail.
My Pro-Tip: The “Mid-Project” Weave-In Session
For large projects, I schedule “finishing sessions.” After completing a logical section (e.g., one sleeve, five granny squares), I’ll sit down and weave in all the ends from that section. This breaks the monotony into manageable chunks and gives you the motivational boost of seeing a clean, finished section. It also prevents the overwhelming dread of a giant pile of ends at the very end.
Taking the time to finish your work properly is the ultimate sign of a craftsperson who takes pride in their creation. It’s the quiet, unseen detail that makes the difference between something that lasts for years and something that falls apart. So honor your hard work. Give it the flawless finish it deserves.
Master the Art of Finishing:
- Seamless Starts: How to Join New Yarn Invisibly – Create fewer ends to weave!
- Joining Granny Squares Neatly: Methods Compared – Clever ways to join and hide ends.
- The Ultimate Guide to Blocking Crochet – The final step after ends are woven.
- How to Care for & Wash Your Finished Crochet Items – Test the security of your ends.


