
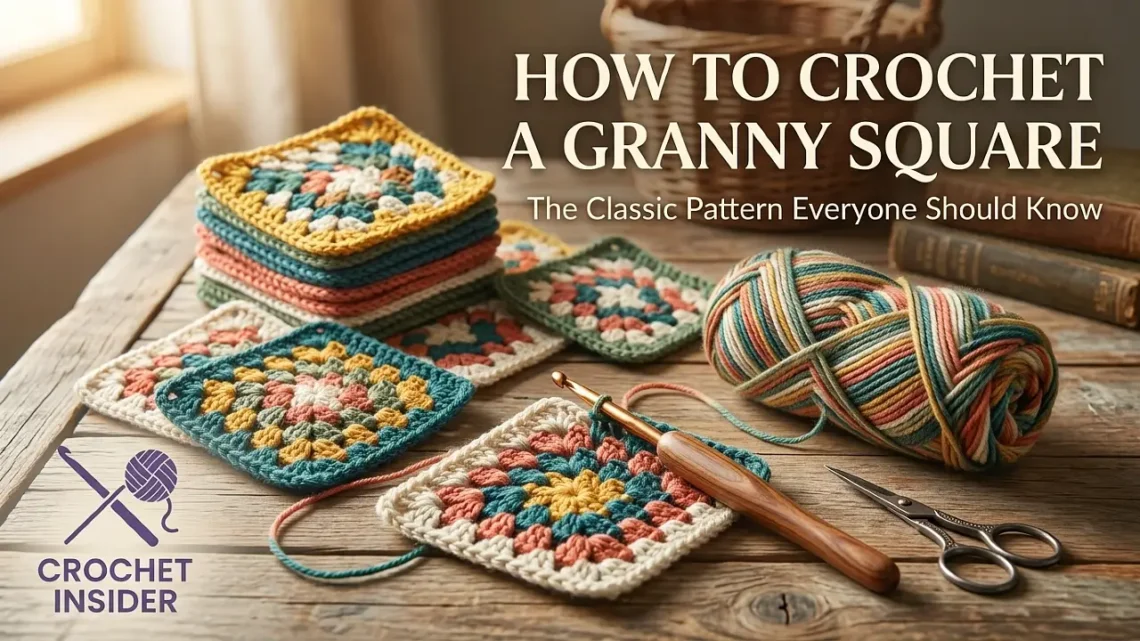
The granny square is the little black dress of crochet. It’s been around forever (seriously, the first written pattern appeared in the 1890s), and it never goes out of style. I remember my grandma teaching me to make these when I was twelve — she would sit in her armchair with a mountain of colorful squares, and I’d beg her to let me help. Now I’ve made hundreds of them: blankets, bags, cardigans, even a granny square dress that I wore exactly once. In this guide, I’ll teach you the same traditional method my grandma taught me. No confusing “magic circles” or weird joins. Just a solid, beautiful granny square that you can turn into anything.
Why every crocheter should master the granny square
You might look at a granny square and think, “That’s old‑fashioned.” And yes, it is. But so are blue jeans. Here’s why this humble square is worth your time:
- Portable. You can carry one ball of yarn and make squares anywhere — in the car, on a plane, waiting at the doctor’s office.
- No gauge worry. As long as your squares are roughly the same size, you can join them. No tension anxiety.
- Perfect for scraps. Got leftover yarn from other projects? Granny squares eat up every last yard.
- Endless variations. Change colors, stitch heights, center starts — you can make thousands of different squares from this one base pattern.
- Very forgiving. Made a mistake? The granny square’s textured nature hides almost everything.
If you already know how to chain and double crochet (from our beginner’s guide or step‑by‑step tutorial), you’re more than ready for granny squares. In fact, you’ll be shocked at how simple they are.
Yarn and hook recommendations
For your first granny square, keep it simple:
For practice, use a single color. Multicolor squares are gorgeous, but they add the complexity of changing yarn. Master the square itself first, then play with colors. I recommend a solid, light‑colored worsted acrylic — pale yellow, soft mint, or light grey. You’ll see every stitch clearly.
My favorite granny square yarns
For blankets: Caron One Pound or Lion Brand Pound of Love — affordable and soft. For garments: Cascade 220 or Knit Picks Wool of the Andes — slightly more expensive but lovely drape. For bags: Lily Sugar’n Cream cotton — stiff and durable.
Anatomy of a granny square: clusters, chains, corners
Before we start crocheting, let’s understand what we’re making. A classic granny square is made of:
- 3‑double‑crochet clusters (often called “granny clusters” or just “clusters”). Each cluster is 3 dc worked into the same space.
- Chain‑1 spaces between clusters along the sides.
- Chain‑2 or chain‑3 spaces at the corners — this is what makes the square turn the corner and grow outward.
The pattern repeats in rounds. Each round adds length to the sides and creates new corners. You start from the center and work outward. That’s it. No complex counting. No shaping. Just clusters and chains.
Why “granny clusters” work so well
Three double crochets in one space create a solid, chunky block of fabric. The chain spaces between them give the square flexibility and allow it to lie flat. The combination is like a little woven patch of coziness.
Step‑by‑step: your first granny square
I’m going to teach you the traditional center‑start granny square using a chain‑4 loop (not a magic ring — that’s for another day). This method is easier for beginners and very secure.
Round 1: The center
Round 2: Growing the square
Now we add the second round. This is where the granny square really starts to look like a granny square.
Round 3 and beyond: The pattern emerges
From Round 3 onward, the pattern is the same every round, repeated for each side and corner:
- Corners: (3 dc, ch 2, 3 dc) into each chain‑2 corner space.
- Sides: 3 dc into each chain‑1 side space, with a chain‑1 between each side cluster.
To start each new round: slip stitch to the corner space, then ch 3, 2 dc, ch 2, 3 dc in that same corner. Then work across the side: *ch 1, 3 dc in next chain‑1 space* repeat until you reach the next corner, then do the corner cluster. Continue until you’ve worked all four sides, then join with a slip stitch.
How big should you go?
For a traditional square, 3‑4 rounds make a nice coaster. 5‑6 rounds make a good size for a blanket square (about 5‑6 inches). 10‑12 rounds make a very large square that can be a blanket all by itself (like a “granny blanket” without joining). Stop whenever you’re happy with the size.
Complete written pattern (print it!)
Here’s the whole thing in standard pattern format. Keep this handy.
Classic Granny Square
Free patternAbbreviations (US terms)
5 mistakes everyone makes (and how to fix them)
I’ve made every single one of these mistakes. You will too. Here’s how to catch and fix them.
How to change colors like a pro
Once you’ve mastered a single‑color square, adding colors opens up a whole new world. The best time to change color is at the end of a round, right before you join with a slip stitch.
For a classic multicolor granny square, change colors every 1‑2 rounds. The traditional “scrap granny” uses a different color for each round. It looks chaotic and wonderful.
→ 20 gorgeous granny square color combinationsJoining squares: 4 easy methods
Making one granny square is fun. Making 50 and joining them into a blanket is a project. Here are the most common joining methods, from easiest to most polished.
1. Whipstitch (sewn)
Using a yarn needle and the same yarn, simply sew the squares together through the back loops only. Invisible from the front. Very beginner‑friendly.
2. Slip stitch join
Hold two squares with wrong sides together (or right sides — your choice). Slip stitch through both squares in each stitch. Creates a visible, slightly raised ridge.
3. Single crochet join
Like slip stitch but with single crochet. Creates a more substantial ridge. Good for blankets that need extra stability.
4. Flat braid join
More advanced, but very beautiful. You crochet the squares together as you go, creating a lacy braid between them. Save this for your second granny blanket.
For a complete tutorial on each method with photos, see our guide to joining granny squares.
What to make with your granny squares
A single square is a coaster. Four squares sewn together is a small pouch or hot pad. Nine squares (3×3) is a baby blanket. 36 squares (6×6) is a lap blanket. 100 squares (10×10) is a queen‑size throw. Here are some favorite projects:
- Granny square blanket: The classic. Choose a color scheme and make as many squares as you need. Join them, add a border, done.
- Granny square cardigan: Very trendy. You make large squares for the front, back, and sleeves, then sew them together. Look up “granny square cardigan pattern” — it’s mostly squares.
- Granny square bag: Make 13 squares (front: 3×3, back: 3×3, plus a strip for the bottom). Line it with fabric for strength.
- Granny square pillow: One large square (8‑10 rounds) folded in half and seamed, or two squares sewn together with a pillow insert inside.
- Granny square scarf: A row of 5‑6 squares joined along one edge. Wear it like a connected scarf.
For a free pattern to turn your squares into a baby blanket, check out our granny square baby blanket pattern.
Granny square variations to try next
Once you’ve mastered the classic, the world opens up. Here are my favorite variations:
- Solid granny square — no chain‑1 spaces, clusters stacked directly on clusters. Creates a denser, more modern square.
- Sunburst granny (or sunflower square) — starts with a puff stitch center, then works outward. Very popular for bags.
- Willow square — adds a lacy round with chain loops. Gorgeous for shawls.
- Zebra or striped granny — change colors every half‑round for a spiral effect.
- Hexagon or octagon granny — same concept but with 6 or 8 sides. Makes a different kind of blanket.
Each of these is just the classic granny with a few twists. Learn the classic first, then experiment. I have a whole post on 10 granny square variations with free patterns when you’re ready.
Now go make a stack of squares
The granny square is one of those projects that becomes almost meditative. Once you’ve made three or four, your hands know what to do. You can watch TV, talk on the phone, or sit in silence and watch the square grow. My grandma used to say, “A granny square a day keeps the worries away.” She wasn’t wrong.



Best tutorial I have come across as a complete beginner:) I got it almost immediately with the clear and simple instructions – thank you