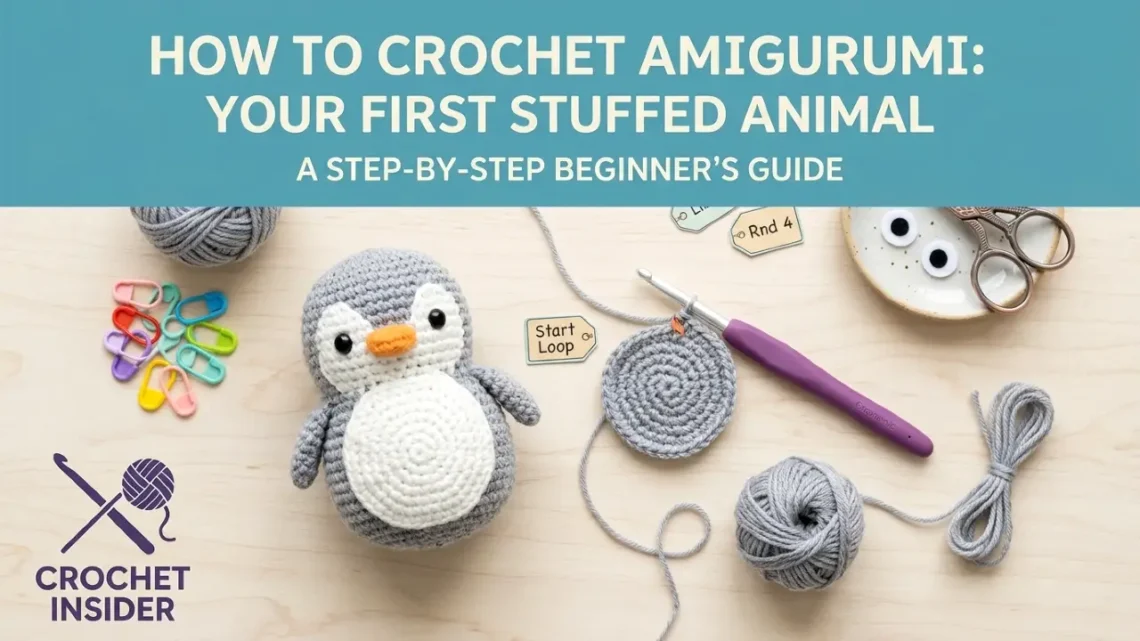
The first time I saw an amigurumi animal, I assumed it was knit. It looked so smooth and tight, with tiny little ears and a perfect round head. Then I learned it was crochet – just single crochet, worked in continuous rounds, with a smaller hook than usual. Amigurumi (pronounced ah‑mee‑goo‑roo‑mee) is the Japanese art of crocheting stuffed toys. It sounds fancy, but it’s actually the perfect project for beginners. You only need to know one stitch (single crochet), one technique (crocheting in the round), and two magic skills (increasing and decreasing). In this guide, I’ll teach you everything you need to make your first amigurumi – from choosing yarn and a hook to making a magic ring, working the invisible decrease, and stuffing. We’ll make a cute whale together, and by the end, you’ll be ready to tackle bears, bunnies, and more.
What is amigurumi? (And why it’s beginner‑friendly)
Amigurumi is crochet in the round, using single crochet (sc) almost exclusively. You start with a magic ring, work in a spiral (no joining), and use increases and decreases to shape spheres, tubes, and blobs that become animals. It’s beginner‑friendly because:
- Only one stitch (single crochet) is needed. If you can sc, you can make amigurumi.
- It’s worked in small pieces. Most animals are made of a head, body, arms, legs – each a small tube or ball.
- Mistakes are easy to hide. A slightly lumpy bear is still adorable.
- It’s portable. You can carry a small ball of yarn and a hook anywhere.
In this tutorial, we’ll make a whale – it’s one piece, no sewing, and you’ll finish it in an hour.
Supplies you’ll need (yarn, hook, stuffing, safety eyes)
My recommended starter kit: One skein of Lily Sugar’n Cream in blue, a 3.5mm hook, one bag of polyester stuffing, and one pair of 8mm safety eyes. Under $15 total.
The magic ring (the only way to start)
Every amigurumi piece starts with a magic ring. It creates a tight, adjustable centre with no hole. Here’s how (see our full magic ring guide for more details):
Practice the magic ring 5‑10 times before starting your whale. It’s the hardest part of amigurumi, and once it clicks, everything else is easy.
Single crochet increase (inc) – making your work wider
An increase (inc) simply means working 2 single crochet stitches into the same stitch. This makes the round wider. The pattern will say “inc” or “2 sc in next st”.
To do it: Single crochet in the stitch as usual. Then, before moving to the next stitch, insert your hook into the same stitch again and work another single crochet.
Increases are used to create spheres, heads, and bodies. For example, if you start with 6 sc in a ring, then increase in every stitch, you’ll have 12 sc – the circle grows.
The invisible decrease (dec) – no gaps!
A regular decrease (sc2tog) works two stitches together, but it leaves a visible bump. In amigurumi, we use the invisible decrease to keep the fabric smooth.
How to do an invisible decrease:
The invisible decrease (abbreviated “dec” or “inv dec”) is the secret to smooth, professional‑looking amigurumi. Practice it on a swatch before starting.
Working in continuous rounds (no joining, no seams)
Unlike hats or doilies, amigurumi is worked in a continuous spiral – you do NOT join with a slip stitch at the end of each round. You just keep crocheting around and around. This creates a seamless tube or sphere.
How to keep track of rounds: Place a stitch marker (or a scrap piece of yarn) in the first stitch of each round. Move it up as you complete each round. You’ll know a round is complete when you get back to the marker.
Counting rounds: You can count the rows of V’s. Each round adds another ring of V’s. Or use a row counter app on your phone.
Free beginner pattern: One‑piece whale (no sewing!)
This whale is the perfect first amigurumi. You crochet the body as a single piece, then add the fins directly onto the body – no sewing! It takes about an hour.
Beginner No‑Sew Whale (approx 4‑5″ long)
Absolute beginner (magic ring, inc, dec)R2: inc 6x (12)
R3: (sc, inc) 6x (18)
R4: (sc 2, inc) 6x (24)
R5‑10: sc around (24) – 6 rounds
R11: (sc 2, dec) 6x (18)
R12: (sc, dec) 6x (12)
Stuff the body firmly.
R13: dec 6x (6). Close (see below).
How to stuff and close amigurumi
Stuffing is an art. Here’s how to do it right:
- Use small pieces of stuffing. Tear the polyester stuffing into small tufts, then push them in with a chopstick or pencil. Don’t jam a big lump – it creates gaps.
- Stuff firmly but not too firmly. The toy should hold its shape but still be squeezable. Over‑stuffing stretches the stitches and shows gaps.
- Stuff as you go. For the whale, stuff after R12 (just before the final decrease round). Don’t wait until the end – you can’t get stuffing into a tiny hole.
- To close: After the final decrease round (usually 6 stitches left), cut the yarn leaving a long tail. Thread the tail through the front loops of the remaining 6 stitches, pull tight like a drawstring, then thread the needle back into the body and out through a stitch to anchor. Snip the tail.
Safety eyes vs. embroidery (for children’s toys)
If the toy is for a child under 3, do not use safety eyes. Even “safety” eyes can be pulled off and become a choking hazard. Instead, embroider the eyes using black yarn or embroidery floss.
To embroider eyes: Knot your thread, insert needle from inside the head (where it will be hidden), pull out at the eye location. Make a few straight stitches in a small dot or curved line, then bury the end inside the head. For the whale, use small French knots or just two tiny stitches.
Your first amigurumi is waiting
You’ve learned everything you need: magic ring, increases, invisible decreases, continuous rounds, and stuffing. Now make the whale. Follow the pattern row by row. Use a stitch marker. Keep your tension tight but not aggressive. When you finish, you’ll have an adorable little whale. Then make another in a different colour. Then try a bear or a bunny. Amigurumi is addictive – once you make one, you’ll want to make a whole zoo. And every time you give one as a gift, the recipient will be amazed that you made it by hand.