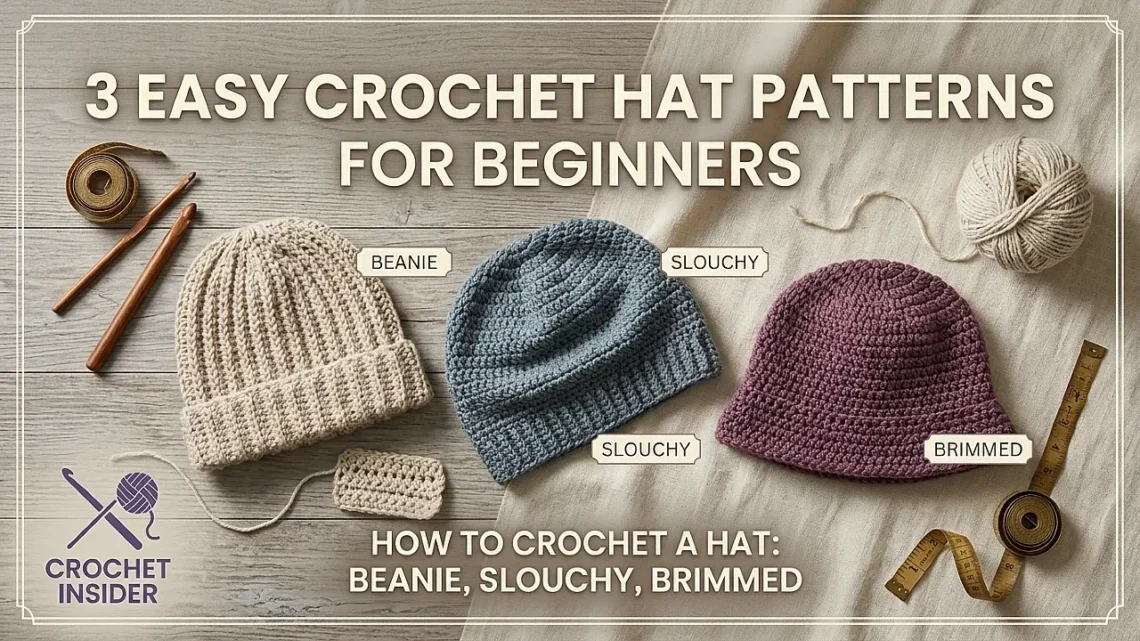
The first hat I ever made was a disaster. I tried to crochet in the round, decreases and all, and ended up with something that looked like a saggy mushroom. I didn’t try again for months. Then I discovered the rectangle beanie — a hat made from a flat piece of crochet, folded and seamed. Game changer. Since then, I’ve made dozens of hats: beanies for winter, slouchy hats for bad hair days, sun hats for the beach. In this guide, I’m going to share three easy hat patterns that use the skills you already have (chains, single crochet, double crochet). No complicated shaping, no decreases until you’re ready. Just cozy, wearable hats.
Hat basics: sizes, yarn, and fit
Before we start crocheting, let’s talk about what makes a hat fit well. Unlike a dishcloth, a hat needs to actually stay on your head.
Standard hat sizes (approximate)
| Size | Head circumference | Hat height (crown to brim) | Typical age |
|---|---|---|---|
| Preemie | 12″ (30 cm) | 4.5″ (11 cm) | Newborn |
| Baby | 14‑16″ (36‑41 cm) | 5.5‑6″ (14‑15 cm) | 0‑6 months |
| Toddler | 18‑19″ (46‑48 cm) | 6.5‑7″ (16‑18 cm) | 1‑3 years |
| Child | 19‑20″ (48‑51 cm) | 7‑7.5″ (18‑19 cm) | 4‑10 years |
| Teen/Small adult | 20‑21″ (51‑53 cm) | 7.5‑8″ (19‑20 cm) | — |
| Average adult | 21‑23″ (53‑58 cm) | 8‑9″ (20‑23 cm) | Women/medium men |
| Large adult | 23‑24″ (58‑61 cm) | 9‑9.5″ (23‑24 cm) | Men or looser fit |
For most of these patterns, I’ll give instructions for an average adult size (21‑23″ circumference). I’ll also tell you how to adjust for other sizes.
Choosing yarn for hats
Acrylic worsted (like Red Heart Super Saver, Caron Simply Soft) is fine for beanies, but if you want a softer hat, try a wool blend or a “soft” acrylic like Lion Brand Heartland. For sun hats, use cotton or a cotton‑linen blend – it holds its shape better.
Pattern 1: The rectangle beanie (no decreases)
This is the hat pattern that saved my sanity. You crochet a rectangle, fold it in half, sew one side seam, and gather the top. That’s it. No decreases, no counting rounds, no shaping.
Rectangle Beanie (Adult)
Absolute beginnerAbbreviations
This beanie works up in about 2‑3 hours. You can add a pom‑pom (see below) or leave it plain. I’ve made these for the whole family — they’re my go‑to last‑minute gift.
Pattern 2: Easy slouchy hat (simple decreases)
Once you’ve made the rectangle beanie, you’re ready for a hat that’s crocheted in the round from the top down. This slouchy hat uses double crochet and very simple decreases.
Beginner Slouchy Hat
Beginner+ (decreases)This hat has a relaxed, slouchy fit. If you want a tighter fit, add a ribbed band at the bottom (alternating FPdc and BPdc) – but that’s for another day.
→ How to double crochet decrease (dc2tog) with photosPattern 3: Beginner brimmed sun hat (worked in rounds)
Sun hats are a different shape – wide brim to protect your face. This pattern uses half double crochet (hdc) and works from the top down, adding brim rounds with increases.
Simple Sun Hat (Adult)
Beginner+ (increases)Cotton is best for sun hats because it breathes and holds its shape. Acrylic will be floppy and hot. Lily Sugar’n Cream or Lion Brand 24/7 Cotton are my go‑tos.
How to size hats for babies, kids, and adults
All three patterns above can be adjusted for different sizes. Here’s how:
For the rectangle beanie:
- Width (number of chains): Preemie: ch 18, Baby: ch 22, Toddler: ch 26, Child: ch 28, Adult: ch 31, Large adult: ch 34.
- Length (number of rows): Keep crocheting until the rectangle’s long side measures the head circumference (e.g., 20″ for adult).
For the slouchy hat (top‑down):
- Stop increasing rounds when the crown (flat circle) measures about 6″ across for adult, 5″ for child, 4″ for toddler, 3.5″ for baby.
- Then work even rounds (no increases) until the hat is the desired depth. Then add decrease rounds.
For the sun hat:
- Crown increases: stop when the flat circle measures about 6‑7″ across (adult). Then work even rounds for depth. Then add brim increase rounds until the brim is as wide as you want (typically 2‑3″ beyond the crown).
If you’re making a hat as a gift and don’t have the person’s head measurement, use the standard sizes from the table above. Most adult women fit a 21‑22″ hat; most adult men fit 22‑23″.
Common hat mistakes and how to fix them
Even with easy patterns, things can go wrong. Here’s what to watch for.
How to add a pom‑pom (store‑bought or homemade)
A pom‑pom makes any beanie 50% cuter. You can buy pre‑made pom‑poms with snaps or ties, or make your own.
Homemade pom‑pom (yarn method)
For a faster option, buy a faux fur pom‑pom with a snap button. Sew the button to the top of your hat, and you can remove the pom‑pom for washing.
More hat patterns to try
Once you’ve mastered these three, you’ll be ready for more advanced hat patterns:
- Earflap hat – add earflaps to a beanie for extra warmth.
- Messenger beanie – uses a combination of half double crochet and front post stitches for a textured band.
- Cat ear hat – very popular for kids (and adults). Add two little triangles to the top.
- Bucket hat – similar to the sun hat but with a shorter brim and softer fabric.
All of these are just variations on the skills you’ve learned here. Check out our collection of free hat patterns for more inspiration.
You’ve made a hat – now wear it with pride
There’s something special about wearing a hat you made yourself. Every time you catch your reflection, you’ll think “I did that.” And once you start giving hats as gifts, people will be amazed. Start with the rectangle beanie, then try the slouchy hat, then the sun hat. By the end of the month, you’ll have a whole collection.