I remember the first time I tried to crochet a hat in the round. I had a pattern that said “join with sl st” and “do not join, work in continuous rounds.” I had no idea what that meant. I ended up with a twisted mess that looked like a spiral of knots. But once someone explained the difference between joined rounds and spiral rounds, everything clicked. Crocheting in the round is how you make hats, amigurumi, bags, doilies, and anything that’s not a flat rectangle. In this guide, I’ll teach you three methods: the magic ring (adjustable loop), the chain ring (for larger projects), and working in continuous rounds (no visible seam). I’ll also cover how to make a flat circle, how to troubleshoot curling or ruffling, and how to change colours in the round. Let’s go round and round.
When to crochet in the round (hats, amigurumi, bags)
Crocheting in the round means you work in a circle instead of back‑and‑forth rows. You’ll use this technique for:
- Hats and beanies – from the top down or brim up.
- Amigurumi (stuffed animals) – almost always in continuous rounds.
- Bags and baskets – the base is often an oval or circle.
- Doilies and coasters – classic round motifs.
- Granny squares – worked in rounds from the centre.
Instead of turning at the end of each row, you keep going around and around. The stitches form a seamless tube or disc.
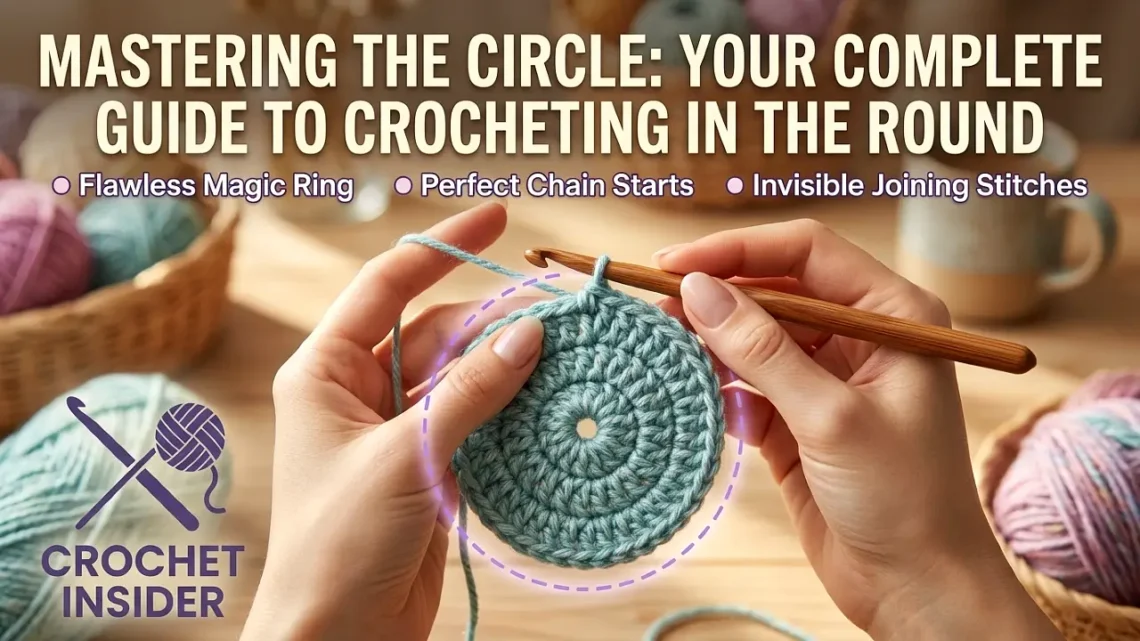
Method 1: The magic ring (adjustable, for tight centres)
The magic ring (also called adjustable ring or magic circle) creates a centre that can be pulled completely closed. It’s essential for amigurumi and hats where you don’t want a hole in the middle.
For a full step‑by‑step magic ring tutorial with photos, see our dedicated magic ring guide.
When to use the magic ring
Use it whenever you want a closed centre with no hole: amigurumi heads, hat tops, granny squares (optional but nice), and round coasters.
Method 2: The chain ring (for larger circles, doilies)
The chain ring is simpler than the magic ring: you chain a certain number of stitches, then join with a slip stitch to form a ring. This leaves a small hole in the centre, which is desirable for doilies or when you want a decorative opening.
The chain ring is easier for beginners to visualise, but it leaves a visible hole. Use it for lacy projects or when you plan to weave a ribbon through the centre.
Joined rounds vs. continuous (spiral) rounds
Once you’ve started your circle, you have two ways to continue: joined rounds or spiral rounds.
Joined rounds (with slip stitch)
At the end of each round, you slip stitch into the first stitch to close the round, then chain up (e.g., ch 1 for sc, ch 3 for dc) to start the next round.
Pros: Creates a clear “seam” line (good for counting rounds). Easier to change colours cleanly. Works well for hats worked from the brim up.
Cons: Leaves a visible seam mark. The join can be slightly visible.
Continuous (spiral) rounds (no join)
After the last stitch of a round, you simply continue crocheting into the first stitch of the next round without joining. Use a stitch marker to mark the start of each round.
Pros: No seam line – perfect for amigurumi and hats worked from the top down. Smoother, invisible fabric.
Cons: Harder to keep track of rounds (use stitch markers). Colour changes create a “jog” unless you use a special technique.
Which to choose? For amigurumi, use continuous rounds. For flat circles (coasters, doilies), use joined rounds. For hats, you can use either – top‑down hats are often continuous, while brim‑up hats often use joined rounds.
How to crochet a flat circle (increase formula)
The most common thing you’ll do in the round is make a flat circle – the crown of a hat, the base of a bag, or a coaster. The secret is the increase formula:
- Round 1: Work the starting number of stitches (e.g., 6 sc in a magic ring).
- Round 2: Increase in every stitch (12 sc).
- Round 3: (Sc, inc) repeat around (18 sc).
- Round 4: (Sc 2, inc) repeat around (24 sc).
- Round 5: (Sc 3, inc) repeat around (30 sc).
- Round 6: (Sc 4, inc) repeat around (36 sc).
Each round, you add one more single crochet between increases. This works for any stitch: single crochet, half double crochet, or double crochet. The starting number changes: for single crochet, start with 6‑8 stitches; for half double crochet, start with 8‑10; for double crochet, start with 10‑12.
Formula at a glance:
For sc: R1: 6 sts. R2: inc 6x. R3: (sc, inc) 6x. R4: (sc 2, inc) 6x. Continue.
For hdc: R1: 8 sts. R2: inc 8x. R3: (hdc, inc) 8x. R4: (hdc 2, inc) 8x.
For dc: R1: 12 sts. R2: inc 12x. R3: (dc, inc) 12x. R4: (dc 2, inc) 12x.
If you don’t increase enough, the circle will curl into a bowl. If you increase too much, it will ruffle like a ruffle.
For a full tutorial on flat circles with examples, see our how to crochet a flat circle guide.
Why your circle is curling or ruffling (and how to fix it)
Changing colours in the round (no visible jog)
When you change colours in joined rounds, you get a visible step (called a “jog”) at the colour change line. Here’s how to make it invisible:
- Join method: At the end of the round, slip stitch with the old colour, then cut the yarn. Join the new colour with a standing single crochet or standing double crochet at the same point. This creates a clean colour change.
- Continuous rounds method: Work the last stitch of the round, remove hook, insert hook into the first stitch of the next round, pull a loop of the new colour through, and continue. This is fiddly – for a seamless colour change in spirals, search “invisible colour change crochet in the round”.
- For stripes in a spiral: Accept that the colour change will have a slight jog – it’s the nature of spirals. It’s barely noticeable in amigurumi.
For a detailed tutorial, see our guide to changing colours in crochet circles.
10 projects that use crochet in the round
Here are 10 beginner‑friendly projects that will help you practice working in the round:
- Simple coaster – make a flat circle using sc increases (6 rounds).
- Amigurumi ball – practice continuous rounds, increases, and decreases (the base for all stuffed animals).
- Beanie (top‑down) – start with a magic ring, increase to form the crown, then work even rounds.
- Granny square – classic joined rounds with chain spaces.
- Market bag bottom – oval base worked in joined rounds.
- Doily – lacy circle using chain rings and shells.
- Cow blanket – use continuous rounds to make a tube, then close one end for a cowl.
- Basket – start with a flat circle, then work up the sides in joined rounds.
- Circular dishcloth – a flat circle in cotton, great for scrubbing.
- Potholder (round) – two flat circles sewn together.
Start with the coaster – it’s tiny and fast. Then try the amigurumi ball. Once you’re comfortable with increases and rounds, you’re ready for a hat.
Round and round you go
Crocheting in the round is a skill that opens up a whole new world of patterns. Start with the magic ring – practice it 10 times until it feels like second nature. Then make a flat circle coaster. Then an amigurumi ball. Before you know it, you’ll be making hats, bags, and stuffed animals with confidence. The most important thing: relax and trust the pattern. Rounds are forgiving, and even if your first circle looks a bit wobbly, it will still be beautiful.


