Think of your crochet hook as your dance partner. If you’re mismatched—one of you is too big or too small—the dance (your stitching) will feel awkward and the result will be off. I can’t tell you how many times I’ve seen beautiful yarn turn into a stiff, cardboard-like fabric because the hook was too small, or a loose, gappy mess because the hook was too large. The right hook size in your hand is what transforms a strand of yarn into fabric with the perfect drape, density, and feel.
Today, we’re going beyond “use what the label says.” We’ll explore how hook size interacts with yarn, your personal tension, and your project’s purpose. You’ll learn how to “listen” to your work and know when to size up or down. Plus, I’ll give you the lowdown on hook materials (aluminum, wood, ergonomic)—because comfort is king when you’re planning to crochet for hours on a cozy blanket.
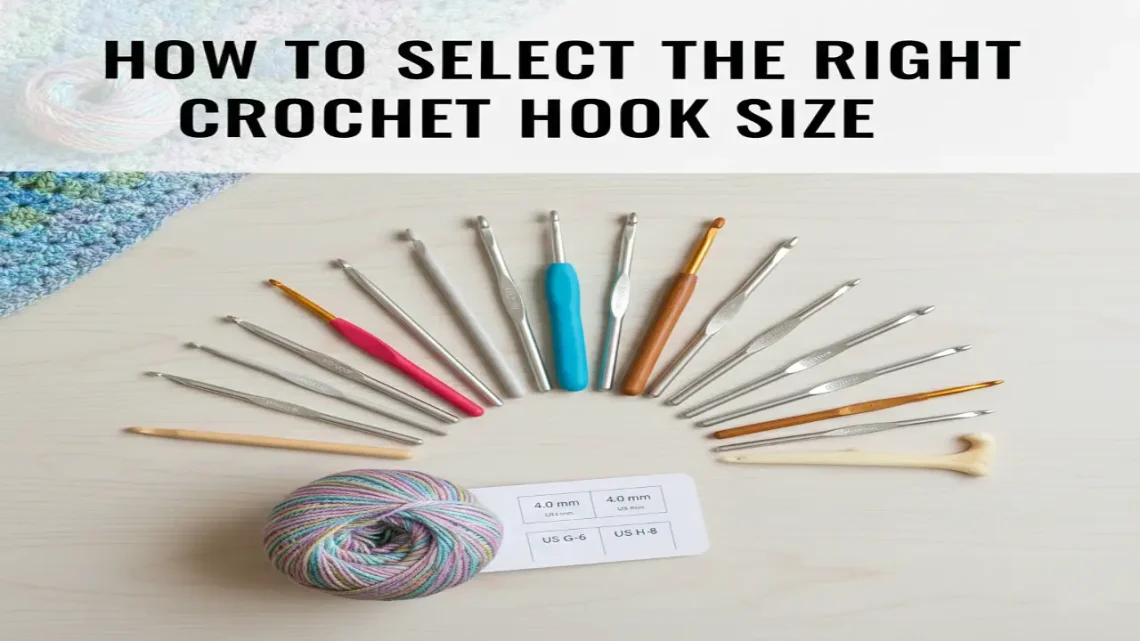
Hook Sizes 101: The Alphabet Soup Explained
Crochet hooks are sized in millimeters (mm), which measures the diameter of the hook’s shaft (the part that determines your stitch size). The letter/number system (B-1, G-6, etc.) is an older US system that often causes confusion because it’s not standardized. Always trust the millimeter (mm) size.
The Golden Rule: Generally, a thicker yarn needs a larger hook, and a thinner yarn needs a smaller hook. But “need” is flexible. Here’s why:
How Hook Size Changes Your Fabric (The Swatch Test)
Let’s do a thought experiment with the same worsted weight yarn:
- Too Small Hook (e.g., 4.0 mm): The stitches will be tight and compact. The fabric will be dense, stiff, and warm. It may curl. Good for amigurumi (needs no stuffing holes!) or a very stiff bag, but terrible for a drapey garment.
- Recommended Hook (e.g., 5.5 mm): This is the designer’s or yarn label’s suggestion to achieve a “standard” gauge. It aims for a balanced fabric—not too stiff, not too loose.
- Too Large Hook (e.g., 7.0 mm): The stitches will be loose and open. The fabric will have more drape and holey-ness. It works up faster but uses more yarn. Could be great for a lacy shawl or a very open, lightweight sweater, but not for something that needs structure.
This is why making a gauge swatch is non-negotiable for fitted items. If your swatch has more stitches per inch than the pattern calls for (your stitches are too small), your hook is too small. If you have fewer stitches per inch, your hook is too large. Adjust your hook size until you match the pattern’s gauge.
Beyond the Pattern: When to Ignore the Suggested Size
Your personal “tension” is your fingerprint in crochet. Some people naturally crochet tightly, some loosely.
- If you’re a “tight” crocheter: Your stitches are small and dense. You might always need to go up one hook size (e.g., use a 6.0 mm instead of a 5.5 mm) to achieve the correct gauge and a comfortable fabric.
- If you’re a “loose” crocheter: Your stitches are big and airy. You might always need to go down a hook size to prevent gappy fabric and hit the right gauge.
How to find out? Make a 4″ square in single crochet with the recommended hook. Does it feel like you’re fighting the yarn? Does your hand hurt? You’re probably crocheting tightly. Does the fabric feel flimsy with visible gaps? You might be a loose crocheter. Adjust accordingly! There’s no “wrong” tension, only an unadjusted hook size.
Hook Materials: Finding Your Perfect Match
The material affects grip, glide, weight, and comfort. I have a collection for different moods and projects!
- Aluminum/Metal: Smooth, fast, slick, and affordable. The classic. Great for most yarns, especially acrylics. Can feel cold and slippery with natural fibers like cotton. I use these for teaching and quick projects.
- Steel: Used for tiny thread crochet (size 0.6mm to 1.75mm) for doilies and fine lace.
- Wood/Bamboo: My favorite for natural fibers! They have a bit of “grip” or drag, which prevents slippery cotton from flying off the hook. They’re warm, lightweight, and quiet. Soothing to use. Not ideal for very tight crocheters as they can snap under high pressure.
- Plastic/Ergonomic: The comfort champions. They have soft, squishy handles that reduce hand fatigue. Essential if you crochet for long periods or have arthritis, carpal tunnel, or grip issues. Brands like Clover Amour or Tulip are investments that changed my crochet life. They often have a slick metal hook head with a comfy handle—the best of both worlds.
Anatomy of a Hook & Pro Tips
- Throat: The indented part that grabs the yarn. An “inline” throat (like Susan Bates) has a sharper shelf, which some find great for splitting yarn less. A “tapered” throat (like Boye) has a smoother slope, which some find faster for yarn gliding.
- Shaft: The part that determines your stitch size. Must be smooth.
- Thumb Rest: The flat area. Use it! It gives leverage and control.
- Handle: Where you grip. This is where ergonomic hooks shine.
My Must-Do Tip: When starting a new project, especially with a new yarn, make a small swatch with 2-3 different hook sizes. Lay them out, feel them, and see which fabric you love. It’s the best way to learn the relationship between hook, yarn, and your hands.
Building your hook collection is a journey. Start with a basic set in common sizes (4.0mm, 5.0mm, 5.5mm, 6.0mm, 6.5mm) and add specialty hooks as projects demand. Remember, the right hook doesn’t just make the project possible—it makes it pleasurable.
Master Your Tools & Tension:
- Crochet Tension & Gauge: The Ultimate Guide to Consistent Stitches – Why it matters and how to master it.
- The Crocheter’s Toolkit: Essential Accessories Beyond the Hook – Stitch markers, needles, and more.
- Hook Care 101: How to Clean & Maintain Your Crochet Hooks – Make your favorites last a lifetime.
- Back to Basics: How to Hold Your Crochet Hook Comfortably – The foundation of good tension.


