I’ll never forget the first blanket I tried to make. I was so proud of my beautiful rows – until I laid it flat and realised one end was twice as wide as the other. I had no idea how to count my stitches. I had been adding stitches at the beginning of each row and dropping them at the ends. Counting stitches seems so simple, but it’s one of the hardest skills for beginners – especially when you’re working with dark yarn or fuzzy textures. In this guide, I’ll teach you exactly how to count stitches for chain, single crochet, half double crochet, double crochet, and treble crochet. I’ll show you how to count rows, how to use stitch markers, and how to fix mistakes when your count is off. Plus, I’ve included a free printable stitch tracker. Let’s get your edges straight.
Why counting stitches matters (more than you think)
Counting stitches isn’t just about getting the right number – it’s about keeping your project straight. Every time you add or drop a stitch, your project gets wider or narrower. Here’s what happens:
- Adding a stitch (increasing accidentally): Your work gets wider. This happens when you work into the turning chain (when you shouldn’t) or put two stitches where there should be one.
- Dropping a stitch (decreasing accidentally): Your work gets narrower. This happens when you skip the first or last stitch of a row.
- Inconsistent stitch count: Wavy edges, wonky shaping, and frustration when you try to join pieces.
The solution is simple: count your stitches at the end of every row. It takes 10 seconds and saves hours of frogging. I promise.
How to count chain stitches
The chain is the first stitch you learn, and it’s also the easiest to miscount. Here’s the rule:
The loop on your hook is NOT a chain stitch. The chains are the V‑shaped loops below the hook. Also, the slip knot at the very beginning is not a chain.
To count: look at the front of your chain. Each V is one chain. Count the V’s. For a chain of 20, you should see 20 V’s and one loop on your hook.
How to count single crochet stitches
Single crochet is the easiest to count because each stitch looks like a neat little V.
How to count half double crochet stitches
Half double crochet stitches look similar to single crochet but are slightly taller. Count them the same way – count the V’s.
Important: For half double crochet, the turning chain (ch 2) does NOT count as a stitch. So when you count your V’s, you should have exactly the same number as your foundation chain minus the skipped chains. Example: If you chained 21, you skipped 2, so you should have 19 hdc in the first row. Count the V’s – you should see 19.
How to count double crochet stitches (including turning chain)
This is where beginners get tripped up. For double crochet, the turning chain (ch 3) counts as a stitch. Here’s how to count:
Quick example
If you have a row of double crochet that says (30 dc) at the end, that includes the turning chain. You should see a chain‑3 at the beginning (counts as 1) and 29 regular dc V’s, for a total of 30. If you count 29, you’ve missed one – check the end of the row.
How to count treble crochet stitches
Treble crochet is similar to double crochet: the turning chain (ch 4) counts as a stitch. Count the V’s of the treble stitches, plus the chain‑4 as one stitch.
How to count rows
Counting rows is different from counting stitches. Here’s how to do it for each stitch type:
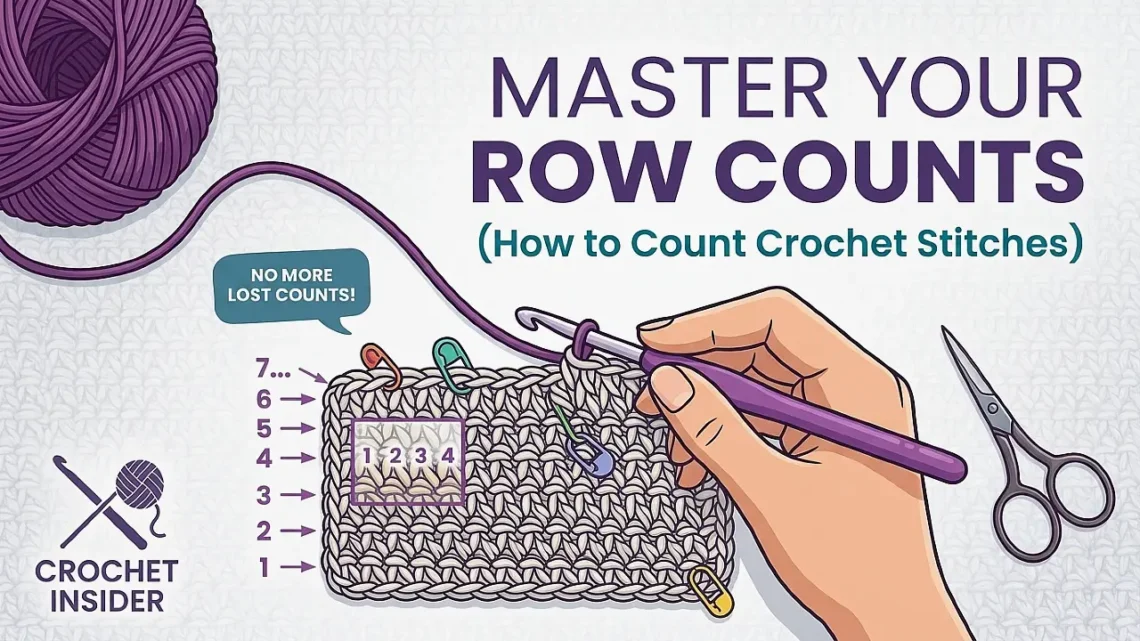
- Single crochet rows: Each row creates a horizontal ridge. Count the ridges. The first row (foundation chain) counts as row 1.
- Double crochet rows: Look at the posts (the vertical stems) of the double crochets. Each row of posts leans in one direction. Count the rows by looking at the “spine” of the fabric – each horizontal line is a row.
- Half double crochet rows: Similar to double crochet – look for the horizontal bars between rows.
- Using a row counter: The easiest method. Use a physical counter that clicks, an app on your phone, or make tally marks on paper. I use a cheap clicker from Amazon – it lives on my hook.
How to use stitch markers (the cheat code)
Stitch markers are small clips or loops that you attach to your work. They are the single most useful tool for counting. Here’s how I use them:
- Mark the first stitch of each row. After you make the first stitch of the row, clip a marker into it. When you come back to that stitch on the next row, you’ll know exactly where to put your last stitch.
- Mark every 10 stitches. When you’re working on a large project, place a marker every 10 or 20 stitches. Then you can count quickly: “20, 40, 60, 65” instead of “1,2,3,4…”
- Mark your rows. Clip a marker into the first stitch of every 10th row. Then you can count rows by looking at the markers instead of recounting from the bottom.
- Use scrap yarn as markers. If you don’t have stitch markers, cut a small strand of contrasting yarn and loop it through the stitch.
5 common counting mistakes (and how to fix them)
Practice exercise: count along with me
Let’s practice together. Grab a hook, some light‑coloured worsted yarn, and follow along.
Counting Practice Swatch
PracticeKeep a stitch counter handy
Counting is a skill that improves with practice. Be patient with yourself. Use stitch markers liberally. Count out loud. And remember: even experienced crocheters count their stitches. I still count every row of every project. It’s not a sign of inexperience – it’s a sign of care.