I remember the first time I tried to make a magic ring. I watched three YouTube videos, replayed each one five times, and still ended up with a tangled knot. I threw my hook across the room and went back to chaining 4 and joining – which left a hole in the centre of my amigurumi. Then I found a method that clicked. The magic ring (also called magic circle or adjustable loop) is the best way to start crocheting in the round without a hole. It’s essential for amigurumi, hats, coasters, and anything round. In this guide, I’ll teach you three different methods – the standard wrap, the two‑finger method, and the chain‑2 method – plus how to troubleshoot when it doesn’t work. By the end, the magic ring will feel like second nature.
Why use a magic ring? (vs chain ring)
The traditional way to start a circle is to chain 4 (or 5) and join with a slip stitch to form a ring. Then you work your stitches into the ring. This works, but it leaves a visible hole in the centre – fine for doilies, not great for amigurumi or hats.
The magic ring solves this problem. You form an adjustable loop, work your stitches into it, then pull the tail to close the hole completely. No hole. No gap. Just a neat, tight centre.
You’ll use the magic ring for:
Amigurumi (stuffed animals)
Hats (top‑down beanies, bucket hats)
Coasters and round dishcloths
Granny squares (optional but nice)
Any project that starts with a circle
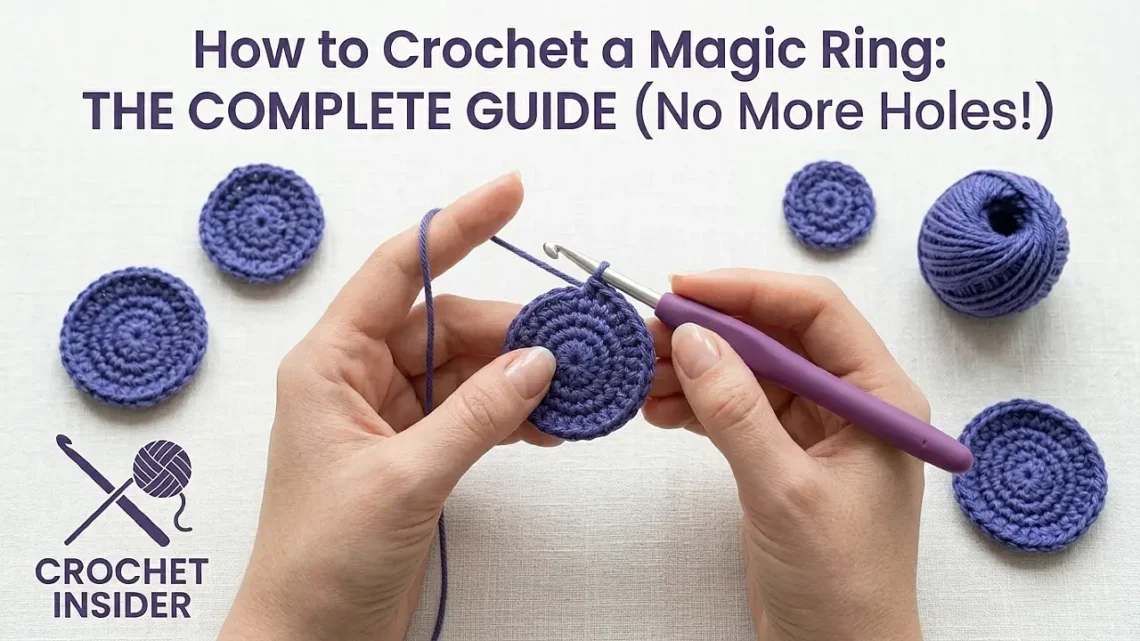
Method 1: The standard wrap (most common)
This is the method you’ll see in most tutorials. It uses one hand to wrap the yarn around two fingers.
1
Make a loop with the yarn tail crossing over the working yarnHold the yarn tail (about 6″ long) with your thumb and forefinger. Wrap the working yarn (from the ball) around your index and middle fingers. The working yarn should cross over the tail. Pinch the crossing point.
2
Insert hook under the first strand, over the secondInsert your hook from right to left under the first strand (the one closest to your fingertip), then over the second strand. This is the “over‑under” method. The hook should catch the working yarn.
3
Pull up a loopPull the working yarn through the loop on your fingers. You now have a loop on your hook.
4
Chain 1 to secure the ringYarn over and pull through the loop. This chain stitch does NOT count as a stitch.
5
Work your stitches into the ringInsert your hook into the centre of the ring (the big circle, not the individual strands). Work the required number of single crochets (or double crochets) into the ring. For amigurumi, usually 6 sc.
6
Pull the tail to closeAfter completing your stitches, pull the yarn tail firmly. The ring will tighten and the hole will disappear. Don’t pull too hard – just until snug.
After pulling the tail, you can continue crocheting in the round. The tail can be woven in later. If the ring loosens, you can tighten it again by pulling the tail.
Method 2: The two‑finger method (easiest for beginners)
This method uses two fingers held together. Many beginners find this easier to visualise.
1
Wrap the yarn around two fingers twiceHold the yarn tail with your thumb. Wrap the working yarn around your index and middle fingers (held together) twice. You’ll have two loops around your fingers.
2
Insert hook under both loopsInsert your hook under both loops from front to back. Yarn over and pull through. Chain 1 to secure.
3
Work stitches into the ringWork your stitches into the centre of the double loop.
4
Pull the tail to closeAfter finishing your first round, pull the tail. The double loop will tighten. Because you wrapped twice, the ring is extra secure.
This method is especially good for beginners because the double wrap makes it easier to see the loops and prevents the ring from accidentally closing before you’re ready.
Method 3: The chain‑2 method (quickest, best for hats)
This is a variation that works well when you need a slightly larger centre hole – for example, when starting a hat with double crochet stitches.
1
Make a slip knot, then chain 2Make a normal slip knot on your hook. Chain 2 stitches.
2
Work stitches into the first chainWork the required number of stitches (e.g., 10 dc) into the first chain of the chain‑2 (the one farthest from the hook).
3
Pull the tail to closePull the yarn tail from the slip knot. The chain‑2 will collapse into a tight ring.
This method creates a smaller hole than a traditional chain ring but not completely closed like the standard magic ring. It’s a good alternative if the standard magic ring confuses you.
5 common magic ring problems (and how to fix them)
🔓
My magic ring won’t close/it’s loose after pullingYou might have wrapped the yarn incorrectly, or your tail isn’t free. Sometimes the ring locks because the working yarn crossed the wrong way.Fix: Unravel and try again, making sure the tail is free and not caught in the stitches. When you pull the tail, it should slide easily. If it doesn’t, you’ve wrapped the yarn in the wrong direction.
🥨
My ring is tangled/twistedThe loop on your fingers was twisted before you started working stitches.Fix: Make sure the strands lie flat, not twisted. After you insert your hook, give the loop a tug to straighten it.
💢
I can’t find the centre of the ring to work stitchesThe ring is too tight, or you’re trying to work into the strands instead of the hole.Fix: Loosen the loop by pulling the working yarn slightly before starting. Work stitches into the “hole” – the big space – not into the individual strands.
🧵
My ring came undone after I closed itYou didn’t knot or weave in the tail securely. The magic ring can loosen if the tail is cut too short.Fix: After closing, weave the tail into the first few stitches using a tapestry needle. Then trim. Don’t just pull and cut – weave it in.
👁️
There’s still a small hole after closingYou might have used the chain‑2 method (which leaves a small hole) or your stitches were too loose.Fix: Use the standard wrap method and pull the tail tighter. If you need a completely closed centre, use a smaller hook for the first round.
When to use a magic ring vs. a chain ring
Both methods have their place. Here’s how to choose:
Magic ring – use when you want a completely closed centre with no hole. Best for amigurumi, hats (top‑down), and any project where the centre will be visible.
Chain ring (ch 4, join) – use when you want a small decorative hole. Best for doilies, some granny squares, and projects where the centre will be covered by a button or flower.
Chain‑2 method – use when you want a small hole but find the magic ring tricky. Good for hats and coasters.
For amigurumi, the magic ring is non‑negotiable. For hats, either the magic ring or the chain‑2 method works well.
Practice pattern: flat circle from a magic ring
Here’s a simple project to practice your magic ring skills. Make a flat circle – it’s the basis for coasters, amigurumi heads, and hat crowns.
Practice Flat Circle (4 rounds)
Practice
Yarn: Worsted weight, light colour
Hook: 5.0 mm (H‑8)
Round 1:Magic ring, chain 1, work 6 sc into ring. Pull tail to close. (6 sc)
Round 2:Work 2 sc in each sc around. (12 sc)
Round 3:*(Sc in next sc, 2 sc in next sc)* repeat around. (18 sc)
Round 4:*(Sc in next 2 sc, 2 sc in next sc)* repeat around. (24 sc)
Finish:Fasten off. Weave in the tail from the magic ring first, then the final tail.
This is the same increase formula used for flat circles. Practice this until the magic ring feels automatic. Then try it with double crochet (start with 12 dc in the ring).
You’ve mastered the magic ring
The magic ring takes practice. Don’t be discouraged if your first five attempts look like spaghetti. Watch a video, practice with a thick, smooth yarn, and be patient. Once it clicks, it will feel like the most natural thing in the world. And every time you start an amigurumi animal or a top‑down hat, you’ll be grateful you learned it. No more holes, no more gaps – just a perfect, tight centre.
Mastered the magic ring? Join our community. Join the Crochet Insider community – members get printable magic ring practice sheets, video tutorials of all three methods, and a monthly “circle start” challenge. Launching April 2026! ⭕